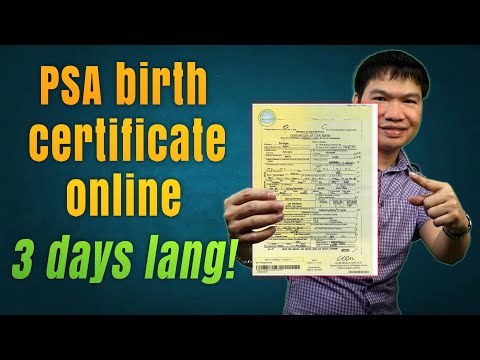
P>Hi guys welcome back to my channel for today's video Eddie discuss nothing on PSA birth certificate online application and delivery before we continue guys if India subscribes the channel please consider subscribing click Nadine and bell notification for updated KO, so next uploads go okay here we go Ethernet PSA birth certificate guys now order a call March 21 dating March 24th so after three days long okay unboxing r or any browser and PSA birth certificate then select the top search result which is PSA birth certificate online delivery under .PSA helpline.pH on the next page click order now then select birth and at the bottom click the checkbox for the terms and conditions and privacy policy then tap continue next page hit my own birth certificate then click continue on the following page are the information need input for your birth certificate online application just click continue at the bottom the next page are the nine steps nanite mud din fill up my manga reminders detail and the most important is lung a loud mug receive the birth certificate mo upon delivery step one select your gender input your first name if you can observe meaning pre-encoded data select money Lang and correct detail your middle name if any for me was last acting no birth certificate so I will leave it blank last name brain coding a den and your birthday for the valid id farming choices detail and I will choose assumed kasiyunamironako then click continue step 2 proper name confirmation if all correct click continue step 3 fathers name then click continue step 4 mothers name then tap continue step 5 your birthplace then hit continue step 6 late registration since for me Hindi in the Monaco late registered I will select no it...
Award-winning PDF software


How to prepare Psa Appointment Form
About Psa Appointment Form
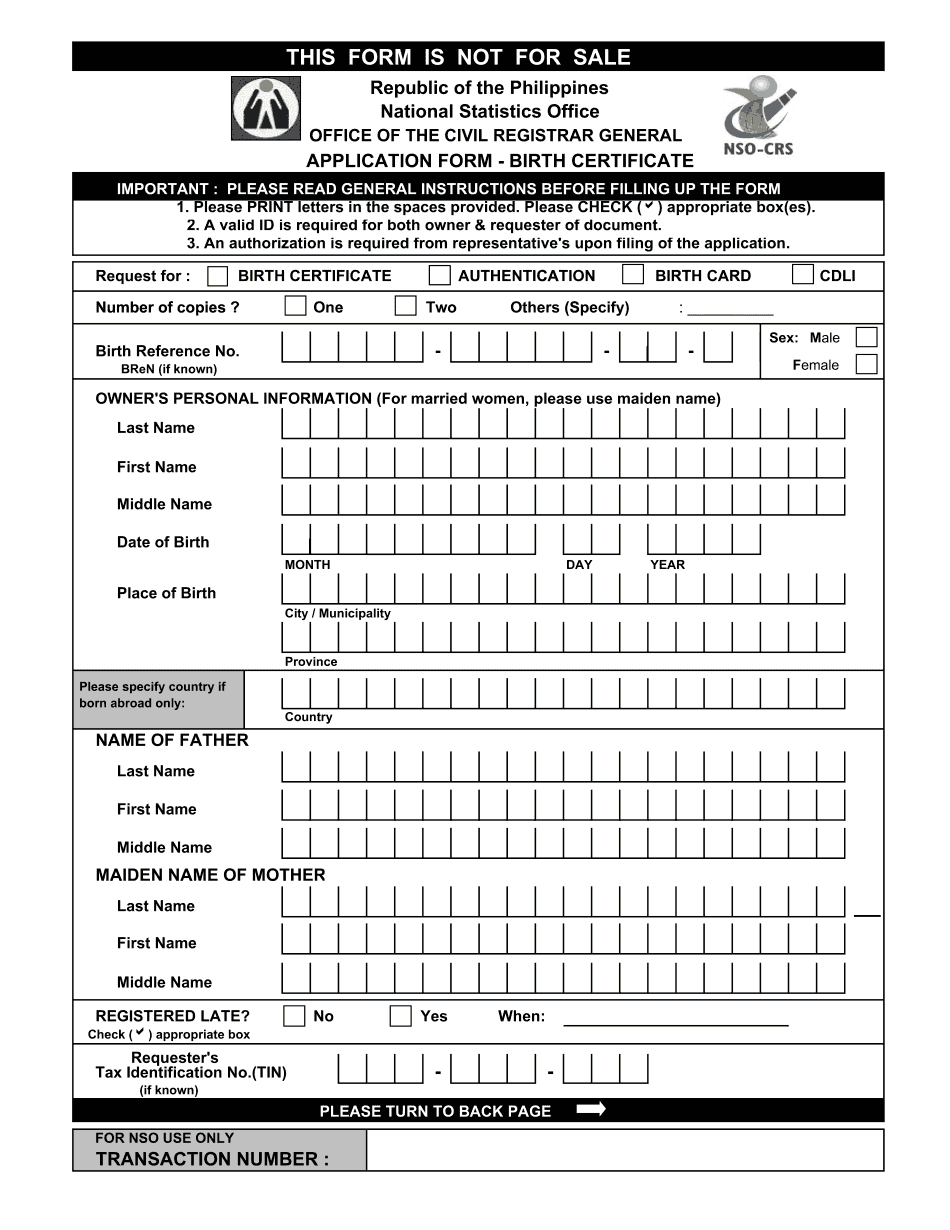
The PSA Appointment Form is a document used by individuals who require copies of their civil registry documents, such as birth certificates, marriage certificates, and death certificates, among others. The Philippine Statistics Authority (PSA) is responsible for issuing these documents, and individuals who wish to obtain copies must submit a PSA Appointment Form to schedule an appointment with the PSA office in their area. This form is necessary for anyone who needs to obtain civil registry documents, such as individuals applying for a passport, enrolling in school, or getting married, among others.
Get Psa Appointment Form and streamline your day-to-day file managing
- Locate Psa Appointment Form and begin modifying it by clicking Get Form.
- Begin filling out your form and include the data it needs.
- Benefit from our extended modifying toolset that allows you to post notes and make feedback, as needed.
- Review your form and check if the details you filled in is right.
- Easily fix any mistake you made when altering your form or get back to the prior version of your document.
- eSign your form easily by drawing, typing, or capturing a photo of your signature.
- Save changes by clicking Done and download or send out your form.
- Send your form by email, link-to-fill, fax, or print it.
- Select Notarize to carry out this task on your form online using our eNotary, if necessary.
- Securely store your approved papers on your PC.
Editing Psa Appointment Form is an easy and intuitive procedure that needs no prior coaching. Get everything that you need in one editor without the need of constantly switching in between various platforms. Locate much more forms, fill out and save them in the format of your choice, and streamline your document managing in a single click. Just before submitting or delivering your form, double-check details you filled in and swiftly fix mistakes if necessary. If you have any questions, get in touch with our Customer Support Team to help you out.
Video instructions and help with filling out and completing Psa Appointment Form